
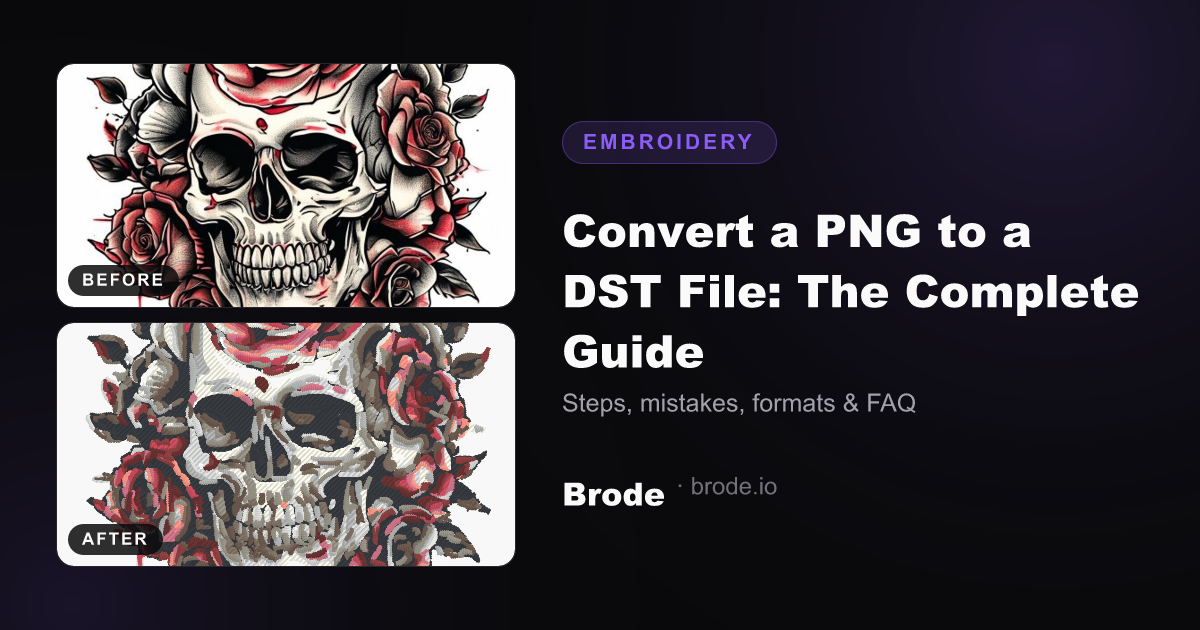
Your embroidery machine doesn't "see" images: it executes a needle trajectory recorded in an embroidery file. Converting a PNG to DST means going from a grid of pixels to stitch coordinates — a process called digitizing. This guide explains how it works, what to check before stitching out, and how to get a clean result without spending hours.
DST, PES, JEF, VP3: which format for which machine?
All embroidery formats describe the same thing — stitches, jumps and color changes — but each manufacturer has its own. DST (Tajima) is the most universal format: virtually every commercial machine and most recent domestic machines accept it — the brand-by-brand format guide covers every mapping. PES is for Brother and Babylock machines, JEF for Janome, VP3 for Husqvarna Viking and Pfaff.
- DST: commercial machines (Tajima, Barudan, SWF…) and maximum compatibility — the safe default choice.
- PES: domestic Brother and Babylock machines.
- JEF: Janome and Elna machines.
- VP3: Husqvarna Viking and Pfaff machines, carries color metadata.
Why you can't "just trace" the PNG
An embroidery file must satisfy physical constraints an image ignores: stitch density (too dense and the fabric tears; too sparse and the embroidery is see-through), fill-stitch angles, underlay that stabilizes the fabric, and color ordering to minimize thread changes. A naive auto-trace would produce millions of stitches and holes in the fabric.
A good converter analyzes the image: it reduces the color count, cleans compression noise, vectorizes each area cleanly, then fills surfaces with regular hatching whose angle and density are calibrated for fabric — underlay, satin and tatami working together.
Steps for a PNG that embroiders well
- Start from a sharp, high-contrast image with few colors (a flat logo embroiders better than a photo).
- Think about size: an 8–12 cm wide motif almost always embroiders better than a 3 cm one, where details vanish.
- Convert with a tool that handles density, underlay and holes (the counter of an "o", shape interiors).
- Always test-stitch on a scrap of similar fabric before the final piece.
- Check the stitch count and color changes before sending to the machine.
Classic mistakes
- Starting from a 200 px web PNG: stair-step edges become jagged stitching. Aim for at least 1000 px wide.
- Skipping underlay: without it, satin columns collapse and fill stitches pucker.
- Too many colors: each color is a manual thread change. 4 to 8 colors is a good target.
- Excessive density "to be safe": the number-one cause of torn fabric.
Frequently asked questions
Can I convert a JPG, a PDF logo or a WebP to DST? Yes: any readable raster image (JPG, PNG, WebP, GIF, BMP, TIFF) works as a source; sharpness and color count matter, not the extension.
Does automatic conversion work on photos? Logos and flat-color motifs embroider best. A gradient-heavy photo must be reduced to a few colors, at the cost of realism.
Do I need software to use a DST file? No: copied to a USB stick, it reads directly on the machine. Software is only for previewing or editing the design.
Convert a PNG to DST for free
Brode converts your images to DST, PES, JEF, VP3, EXP, U01 and XXX straight from the browser, no install required. The free plan includes monthly conversions, with underlay, hole handling and calibrated hatching. Upload your PNG, pick a preset, and get a machine-ready file — with a stitch preview before you embroider.
To try it right away: the PNG → DST converter page shows real examples, machine compatibility and an FAQ.