
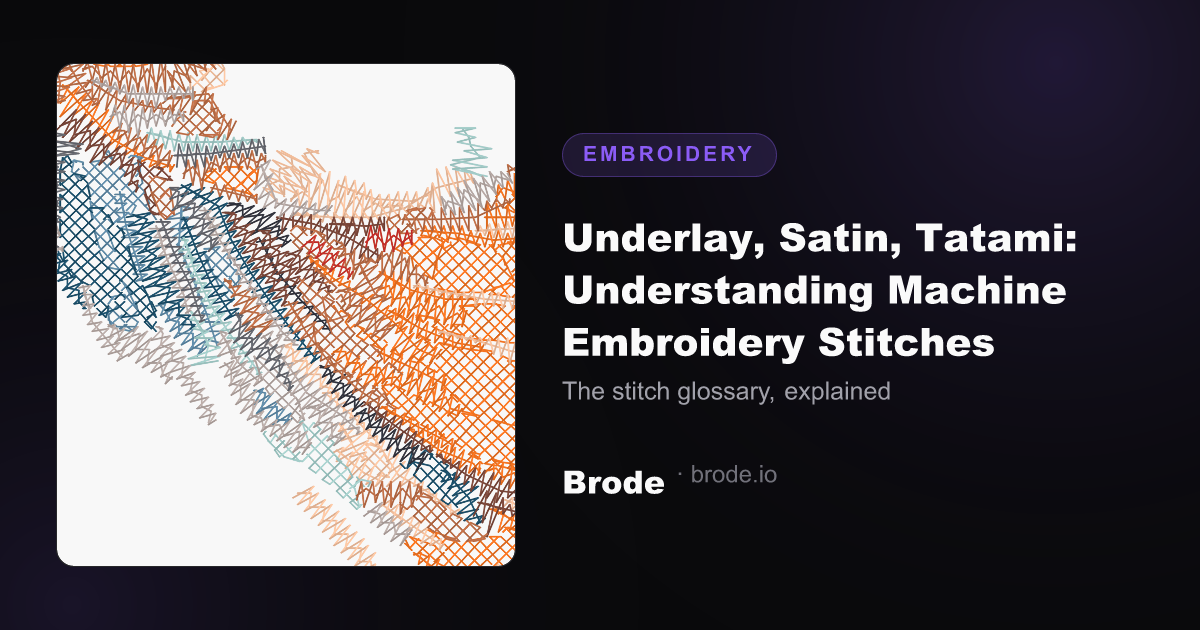
When you open an embroidery file in viewer software, you discover that "filling a shape" isn't done in one pass. This glossary explains the three stitch families every embroiderer should know — underlay, satin, tatami — and how to recognize them in a well-made file.
Underlay: the design's foundation
Underlay is a sparse network of stitches sewn BEFORE the visible fill. Its job: anchor the fabric to the stabilizer, pad the shape, and push down fabric nap (fleece, velvet) so the top layer stays crisp. Without underlay, satins sink, fills pucker and edges bleed.
- Center-run: a discreet center line, for narrow columns.
- Zigzag: two offset passes, for medium satins.
- Tatami underlay: coarse netting for large areas before their final fill.
Satin (column): crisp edges
The satin stitch — really a very tight zigzag — is the backbone of lettering and outlines. Its width (typically 2–6 mm) determines everything: too narrow and the satin degenerates into a running stitch; too wide and the stitches lie flat and snag. Standard density sits between 0.3 and 0.4 mm between penetrations, tuned to thread and fabric.
Tatami (fill): covering surfaces
For surfaces wider than 6 mm, you use rows of parallel stitches — the fill or tatami — angled (often 45° or 125°) to catch the light. Alternating rows in slight offset prevent a gutter effect. On very large surfaces, cross-hatch (a double crossed layer) stabilizes the fill and prevents sagging.
How to recognize a well-built file
- Every zone has underlay suited to its width and the fabric.
- Fill angles vary between adjacent zones to visually mark boundaries.
- Holes (the counter of an "e", shape interiors) are actually cut into the geometry, not "painted over".
- Density is homogeneous: no sparse areas, no stitch clumps.
- Zone order goes back-to-front and groups colors together.
Brode applies all of these rules automatically in its conversions: systematic underlay, satin on narrow areas, angled tatami with optional cross-hatch on large surfaces, and true geometric hole resolution. The stitch rendering can be previewed right in the browser before running the machine — for the full process, see converting a PNG to DST.