
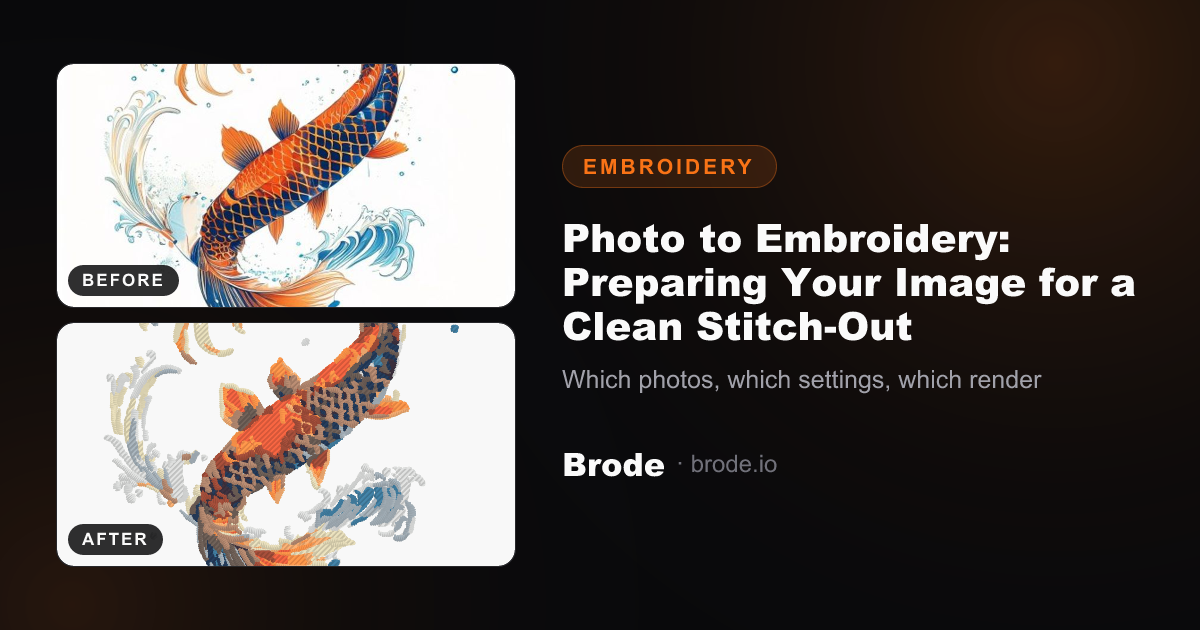
Embroidering a photo — an animal, a face, a landscape — is one of the machine's most beautiful uses: a custom patch, a gift, décor. But a photo is not a logo: it lives in gradients, embroidery in flat areas. Well prepared, the conversion surprises; poorly prepared, it disappoints. Here's the method.
Which photos embroider well
- A sharp subject, clearly separated from the background: a fish on water, a close-up face, an isolated motorbike.
- Strong contrast areas: readable shadows and highlights, not uniform murk.
- Few dominant colors: three to eight tones structure the reading.
- Enough resolution: at least 800 px wide, or details fuse in conversion.
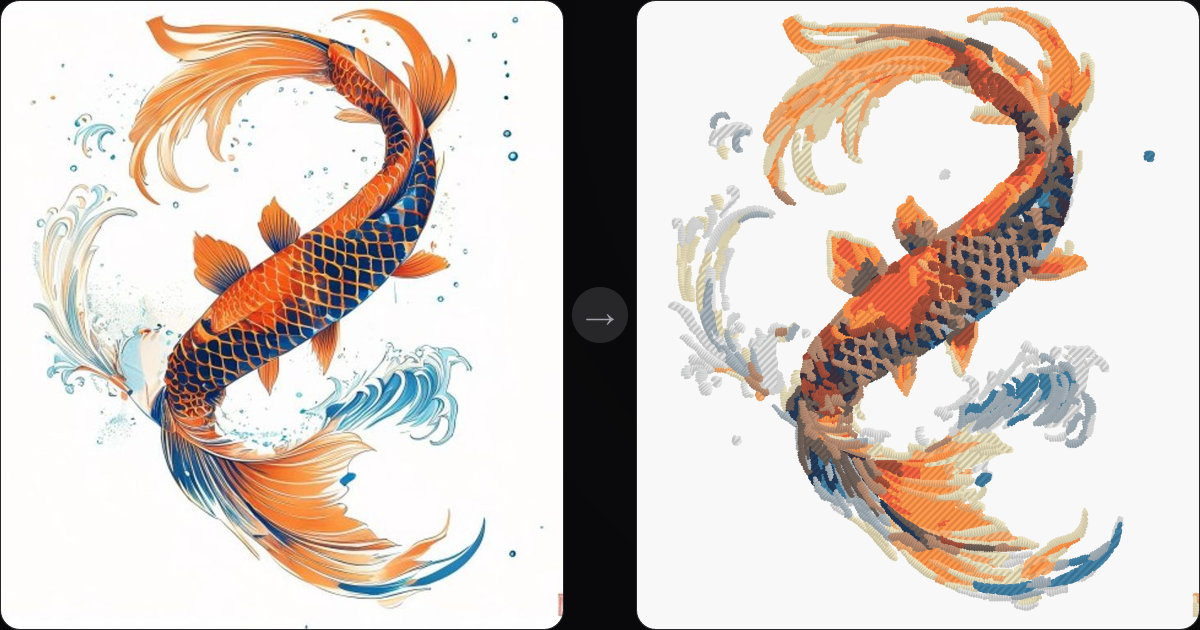
Prepare the image before converting
- Crop tight on the subject: what's outside the frame can't get in the way — what drowns in it can.
- Simplify the background: blur it, unify it, or remove it — a busy background becomes embroidered noise.
- Boost contrast: a light levels adjustment to separate bright zones from dark ones.
- Decide the aspect ratio: a photo landscape embroiders better as a band (panel, sleeve) than as a square.
How many colors, how many threads
Every color in the design becomes a thread, i.e. a bobbin and a machine stop. The sweet spot for a photo: six to ten tones — enough to model the volumes, not enough to turn the embroidery into a threading puzzle. Gradients become juxtaposed flat areas: that's the charm of the “interpreted” render, to be embraced from the start.
Density and size: the photo rules
A photo lives through its large surfaces: give them room. A generous size (100 mm and up) lets the fills breathe and the cross-hatch stabilize the fabric; standard density is enough, the relief coming from tone contrasts rather than packed stitches. On fabric, prefer stable substrates (twill, canvas) over very stretchy jerseys.
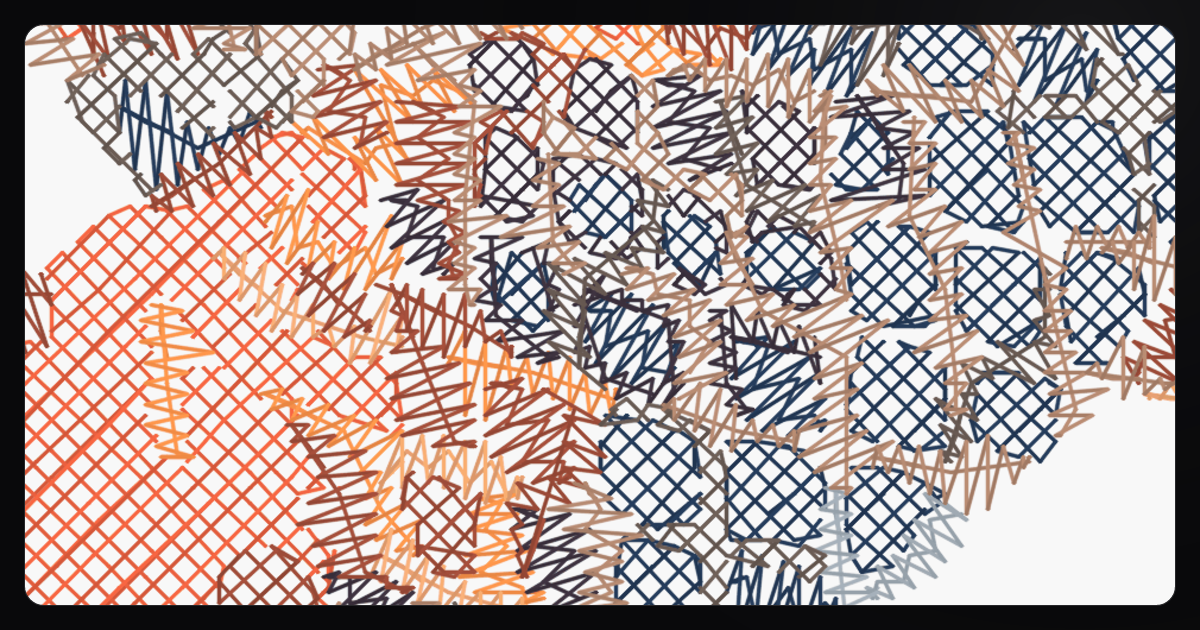
The final render: what to expect
Embroidery interprets, it doesn't reproduce: expect an “engraved” version of the photo, more graphic than the original, with visible direction changes between areas. That's exactly what the simulator shows before any download — judge for yourself, free and unlimited, before going to the machine.
A successful embroidered photo doesn't chase realism: it chases recognition — the glance that says “that's them”.
Going further: check the file before the machine, choose your threads well, and to convert right away, the image to embroidery page.