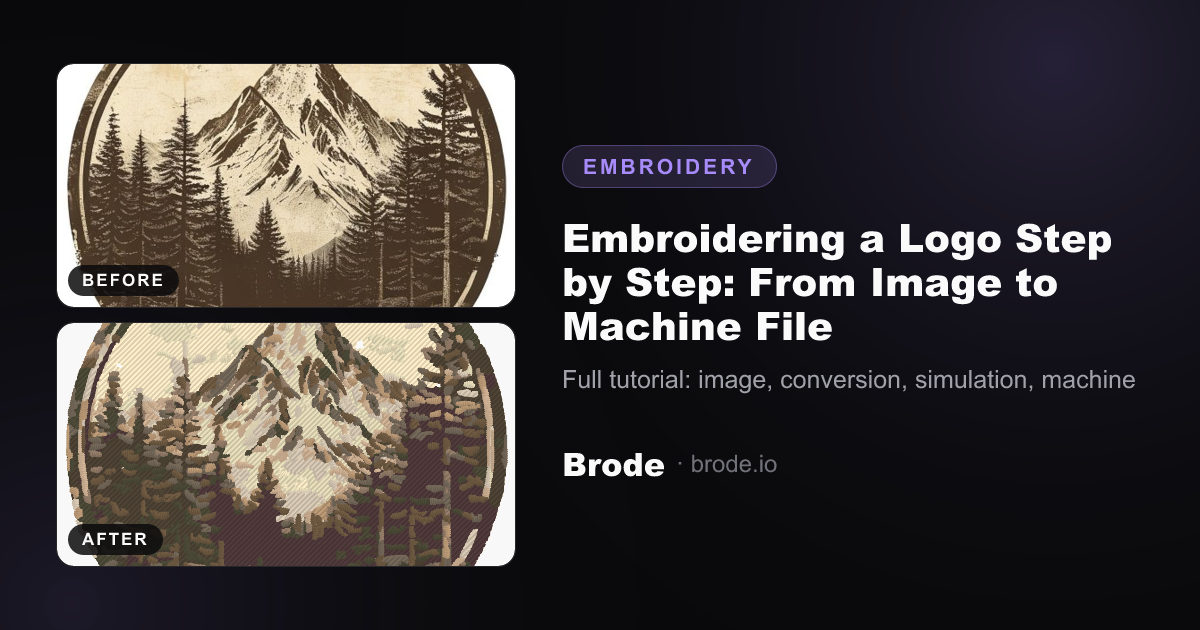
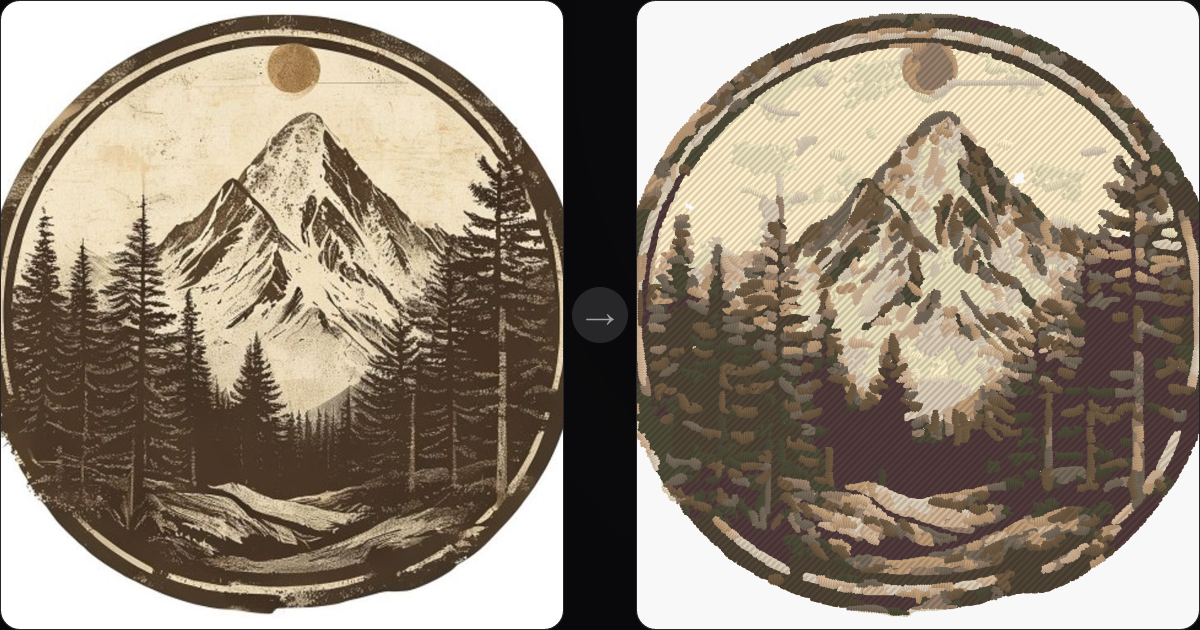
Embroidering a logo on a polo, cap or jacket always starts the same way: turning the image into an embroidery file the machine can read (DST, PES, JEF…). This tutorial walks the full path — choosing the image, converting, checking, downloading — with a real logo as the worked example.
Step 1: start from a good image
The quality of the embroidery file is capped by that of the source image. A crisp logo in flat colors on a plain or transparent background converts almost always well; a photo of a logo taken at an angle on fabric, never perfectly. The starting checklist:
- Enough resolution: at least 500 px wide for a logo. Very small sources can be upscaled (see fixing a pixelated logo), but starting sharp is better.
- Flat colors rather than gradients — every gradient becomes a flat area or disappears in conversion.
- A clean background: white, solid or transparent; otherwise, cut it out first.
Step 2: convert with the right preset
On the PNG → DST converter, you can upload before even creating an account. The “balanced” preset suits most logos; “faithful” keeps more detail, “minimal” cleans up busy designs. Then pick the embroidery size — in real millimeters — and the number of colors: every color becomes a thread, i.e. a bobbin to load on the machine.
Step 3: read the simulation before embroidering
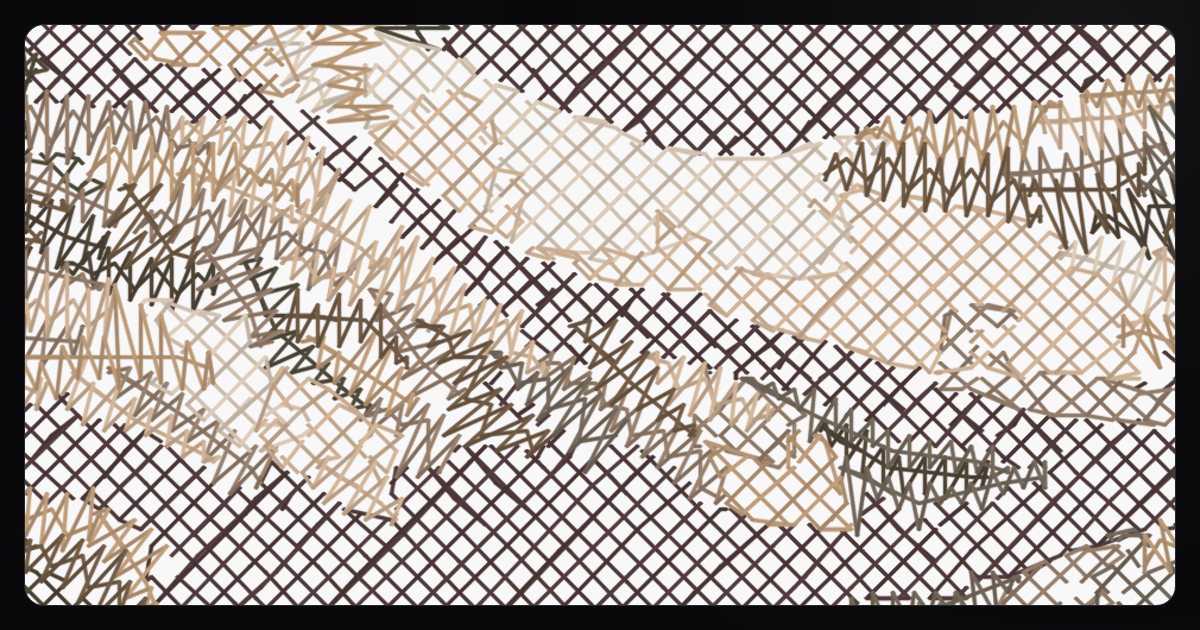
Once converted, the simulator replays the stitching exactly as the machine will sew it: color order, fill direction, satin outlines. Zoom in on letters and small details — that's where the difference between a passable file and a clean one is decided. The simulation is free and unlimited: make the most of it before every stitch-out.
Step 4: the worksheet, your shopping list
The PDF worksheet sums up everything to prepare before sitting at the machine: thread numbers and order (matched to the Madeira Polyneon chart), thread length per color, stitch count, real design dimensions. It downloads for free, even as a plain preview — think of it as the embroidery shopping list.
Step 5: download the machine file
Final stretch: pick your machine's format — DST for Tajima and most industrial machines, PES for Brother and Babylock, JEF for Janome, VP3 for Husqvarna (full guide: PES, JEF, VP3, DST: which format for your machine?). On Brode, conversion and simulation are free; the machine file unlocks per file (from €1.98). Once unlocked, the design re-downloads in every format and can be re-tuned at will — size, density, angles — without paying again.
Classic beginner mistakes
- Embroidering too small: below 40–50 mm, fine letters clog up — enlarge or simplify the design instead.
- Keeping too many colors: eight bobbins for a logo is eight chances of a wrong shade; four to six often suffice.
- Not checking the real size in the simulator: a 90 mm design does not fit a standard cap circle.
- Launching the machine without zooming into the render details.
Judge an embroidery file the way you judge handwriting: from afar, the silhouette; up close, the stroke.
Going further: understanding embroidery stitches, choosing your threads and checking a file before launching the machine.