The same logo embroidered at 50 mm and at 100 mm doesn't face the same constraints: letters that work at 100 mm clog at 50, a density that's perfect on twill puckers on jersey. Size, density and angles aren't three independent settings — they answer each other. This guide covers which to touch, and in what order.
Why size changes everything
Embroidery is measured in real millimeters: satin stroke width, letter height, hole width. Shrinking a design by half doesn't halve its details “cleanly” — fine strokes drop below the sewable threshold and fuse together. Rule of thumb: below 40–50 mm, simplify the design rather than shrinking it; above 120 mm, watch the large surfaces (see cross-hatch below).
Density: enough stitches, not too many
- Too dense: the fabric puckers around the design, the needle heats up, the result turns stiff and board-like.
- Too loose: the fabric shows through between fill lines, outlines lose their crispness.
- The right setting depends on the substrate: a fine fabric needs more density than thick fleece, whose bulk naturally fills the gaps.
On Brode, density is tuned after conversion, on the converted design — not in the source image. The default is calibrated for general use; adjust it when you know your fabric.
Fill angle and cross-hatching
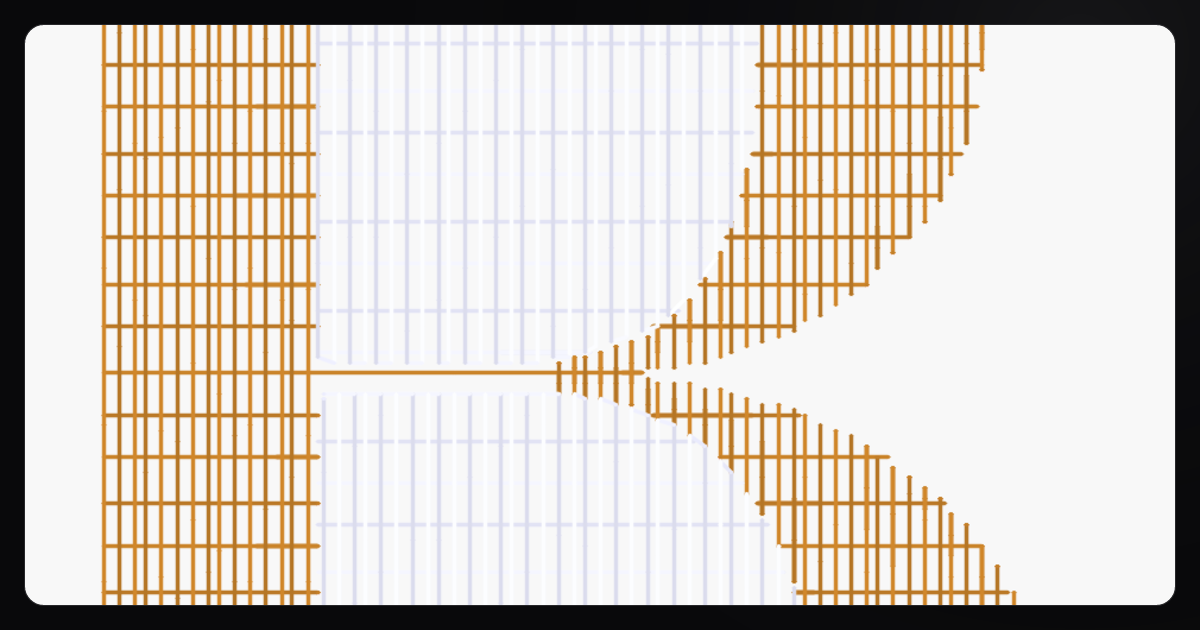
Large tatami-filled surfaces are sewn in parallel angled lines. One angle across the whole design looks flat; varying the angle from area to area — text, outline, background — creates highlights that separate the shapes. On very large surfaces, cross-hatching (criss-cross underlay) stabilizes the fill and keeps the fabric from sagging.
Underlay: the invisible foundation
Before the visible stitches, the machine lays an underlay that anchors the fabric and sets the fiber direction. Without it, the fill bites into the outlines and the design warps in the wash. It's systematic in Brode conversions — full detail in underlay, satin, tatami.
Replay settings without paying twice
The classic scenario: the 90 mm stitch-out is perfect, and the client also wants it at 60 mm for the sleeve. Traditional recipe: pay for digitizing again. On Brode, an unlocked design can be re-tuned and re-downloaded at will — size, density, angles, underlay, machine format — with no extra credit, for life. Test the settings in the simulator, for free, before each new download.
Good embroidery isn't the one with the most stitches — it's the one where every stitch has a reason to exist.
Before tuning, you need a clean file: check an embroidery file before the machine and, upstream, embroidering a logo step by step.